Patching a Mail Slot
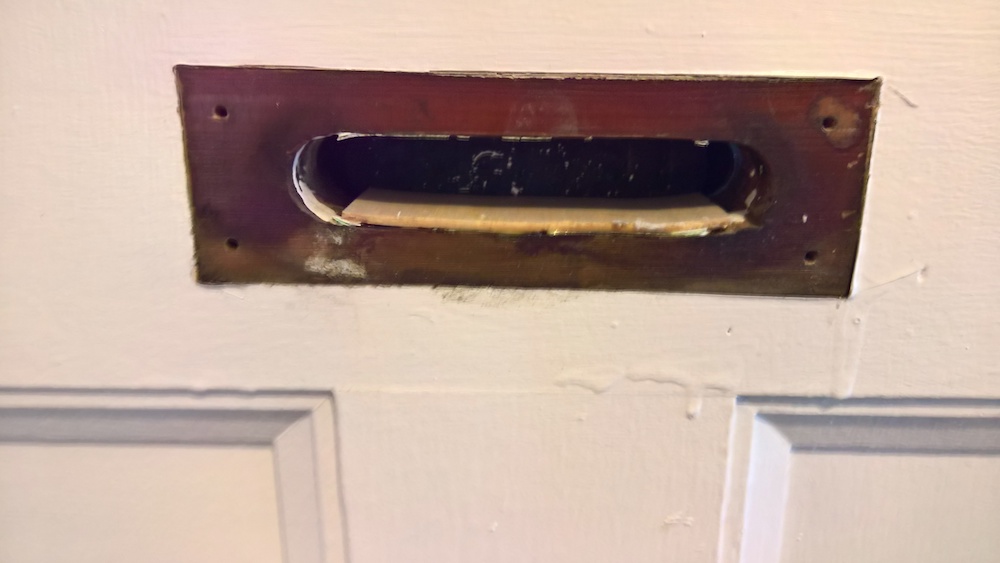
The front door of my condo has an unused mail slot in it (we have a mailbox on the front of the house to actually get mail). In order to avoid a draft during the winter, the previous owner had shoved some insulation in the mail slot and covered it with masking tape. This looked rather unsightly so I decided to do something about it! The goal was for the outside of the door to still have the mail slot, and for the inside of the door to look like a solid piece of wood.
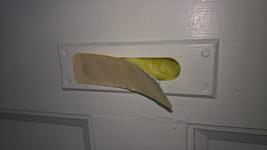
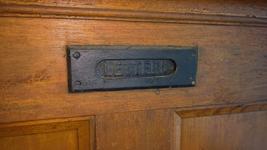
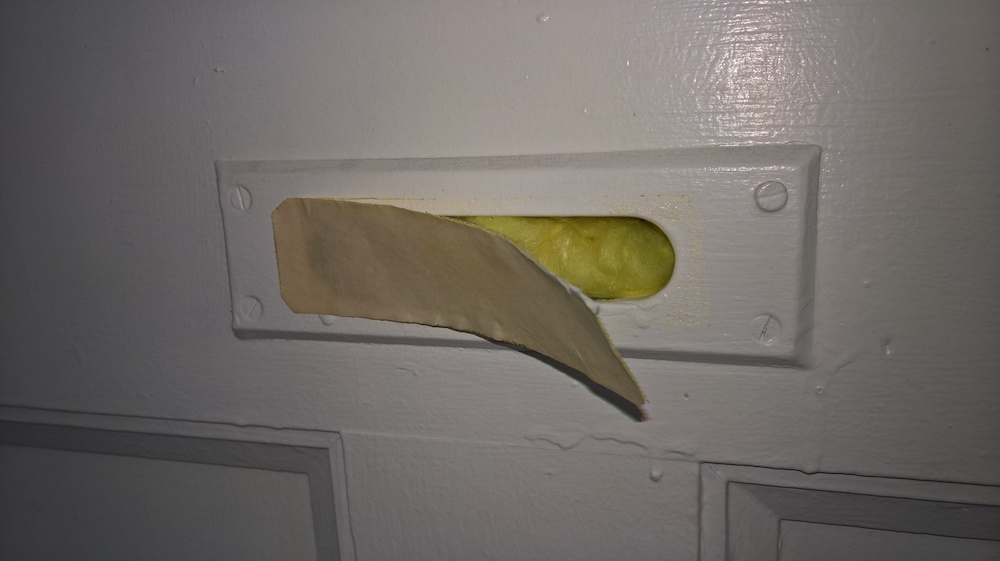
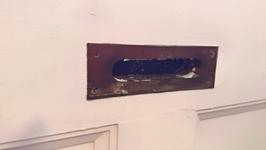
The inside and outside of the door before any work was done.

The first step was to remove the metal bracket on the inside. It initially seemed that the front and back plates were connected: they weren’t, which made this much easier. This was achieved by simply removing four screws (that were covered in probably ten layers of paint).
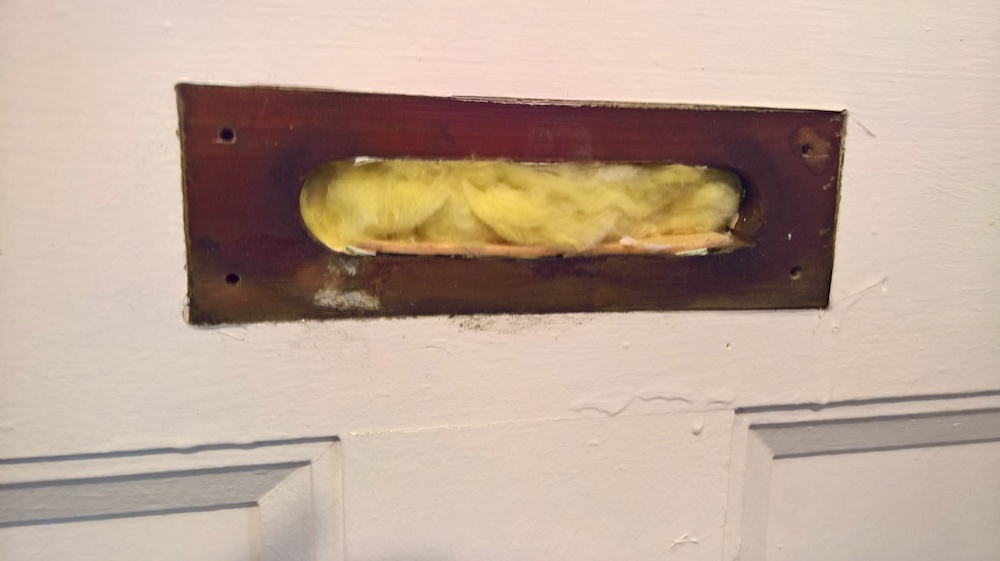
After removing the back plate of the mail slot.

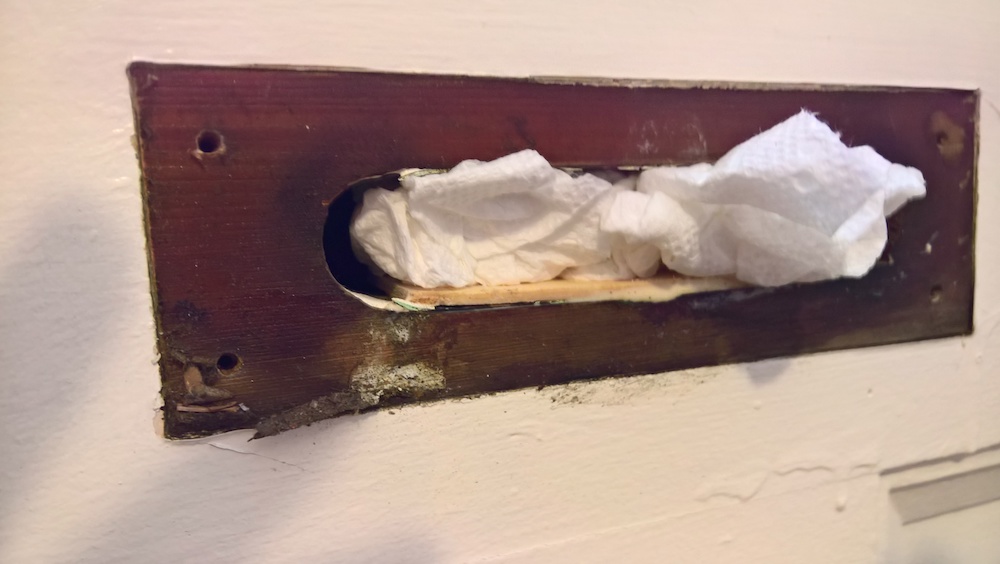
It was desired to insulate the hole before filling it, but before doing that I wanted to ensure that the mail slot could not be opened from the outside. (The flap tended to get stuck on the insulation and there would not be an easy way to close it afterward.) A thin piece of wood was glued to the bottom of the hole to block the flap from opening. Once the glue dried, the insulation was replaced.
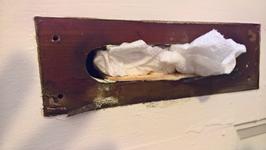
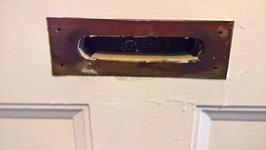

(1) Waiting for the glue to dry. Papertowels were used to pressure the stop to the bottom of the whole. (2) The inserted stop for the mail slot. (3) The insulated mail slot.
A (crude) patch was fashioned from balsa wood to fit the hole. (This is almost definitely not the correct material, but it was easy to work with and will not be bearing any weight.) The first step was to make patch match the size and shape of the hole as closely as possible. A brace was glued on the back to keep the patch from flexing. This was inserted into the hole with some glue around the edges to keep it in place.
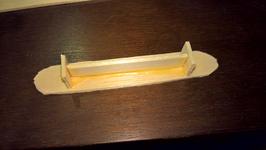

(1) The patch fashioned to match the mail slot hole. (2) The patch inserted into the mail slot.

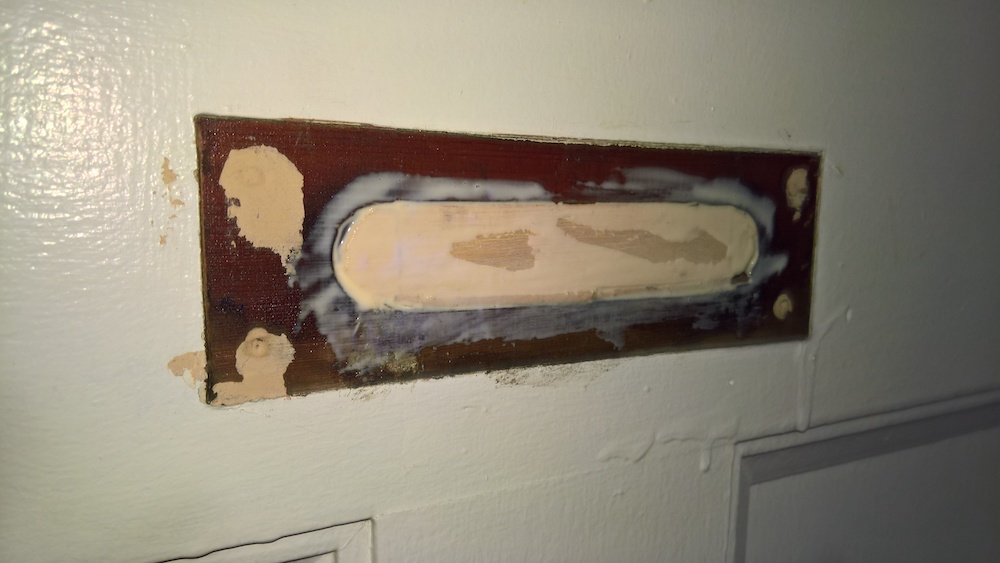
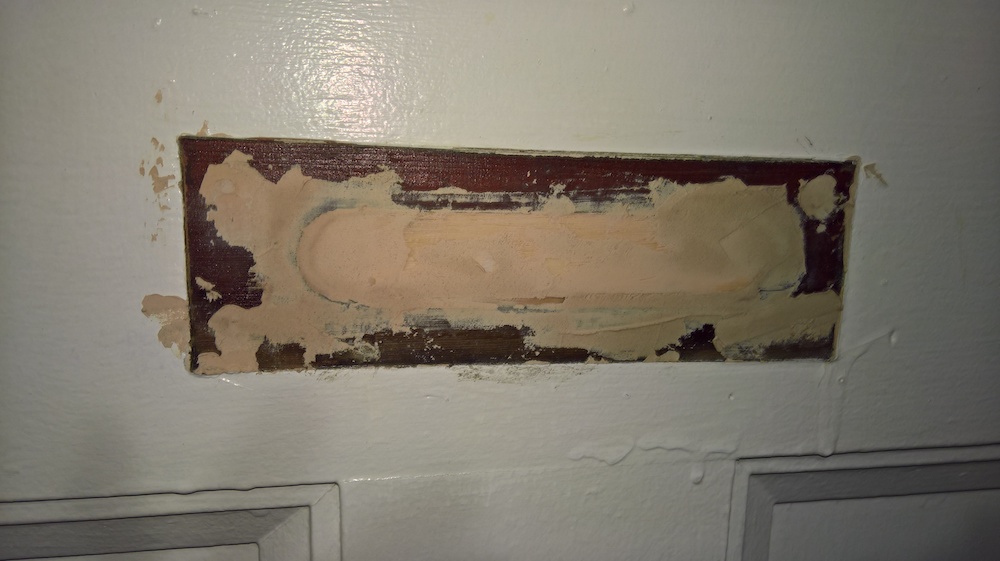
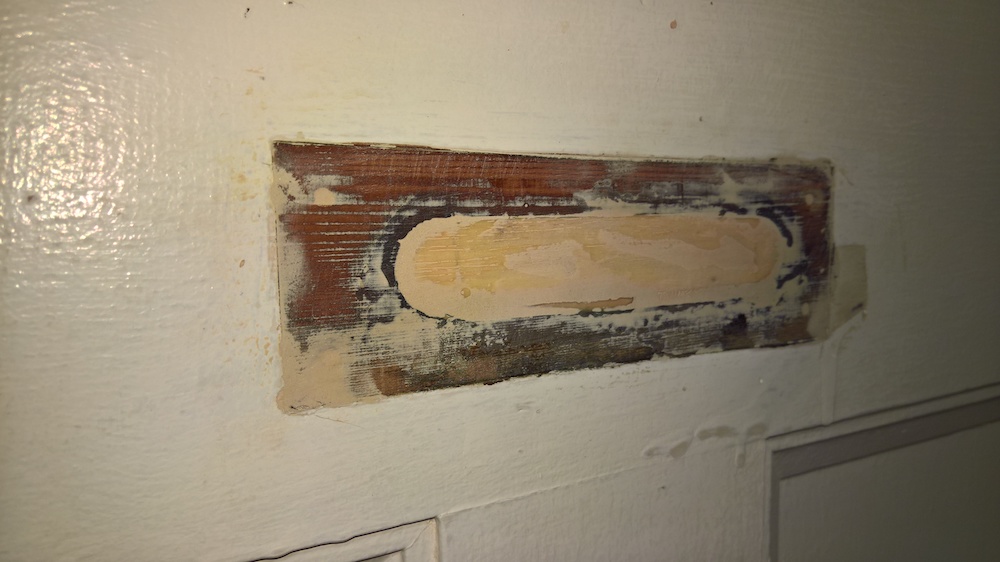
Once the glue dried, the surface was lightly sanded, then wood putty was applied around the edges to smooth the transition from the door to the patch. This was repeated a few times.
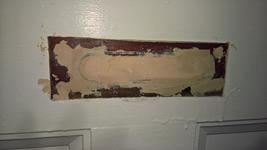
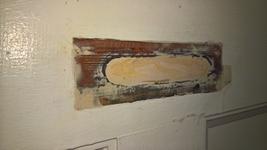
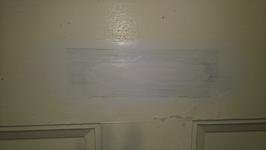
The patch with wood putty around it and then sanded.
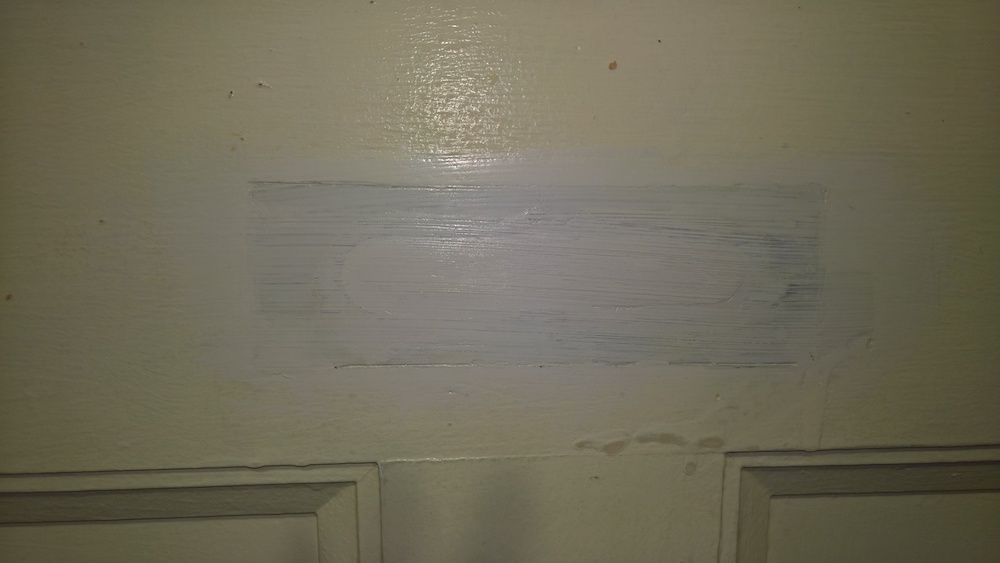
A few coats of paint were used to match the rest of the door. It looks good except under certain light where you can see the outline of the patch. Overall, this took only a few hours (plus time waiting for glue, putty, or paint to dry) and the overall cost was less than $5 (for the wood for the patch, the other material was already on hand).
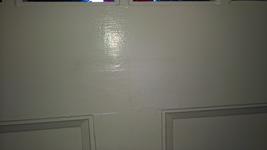
The patch with the first coat of paint, the finished patch.